This light animation was my first attempt at learning how to create a light rig and animate shaders.
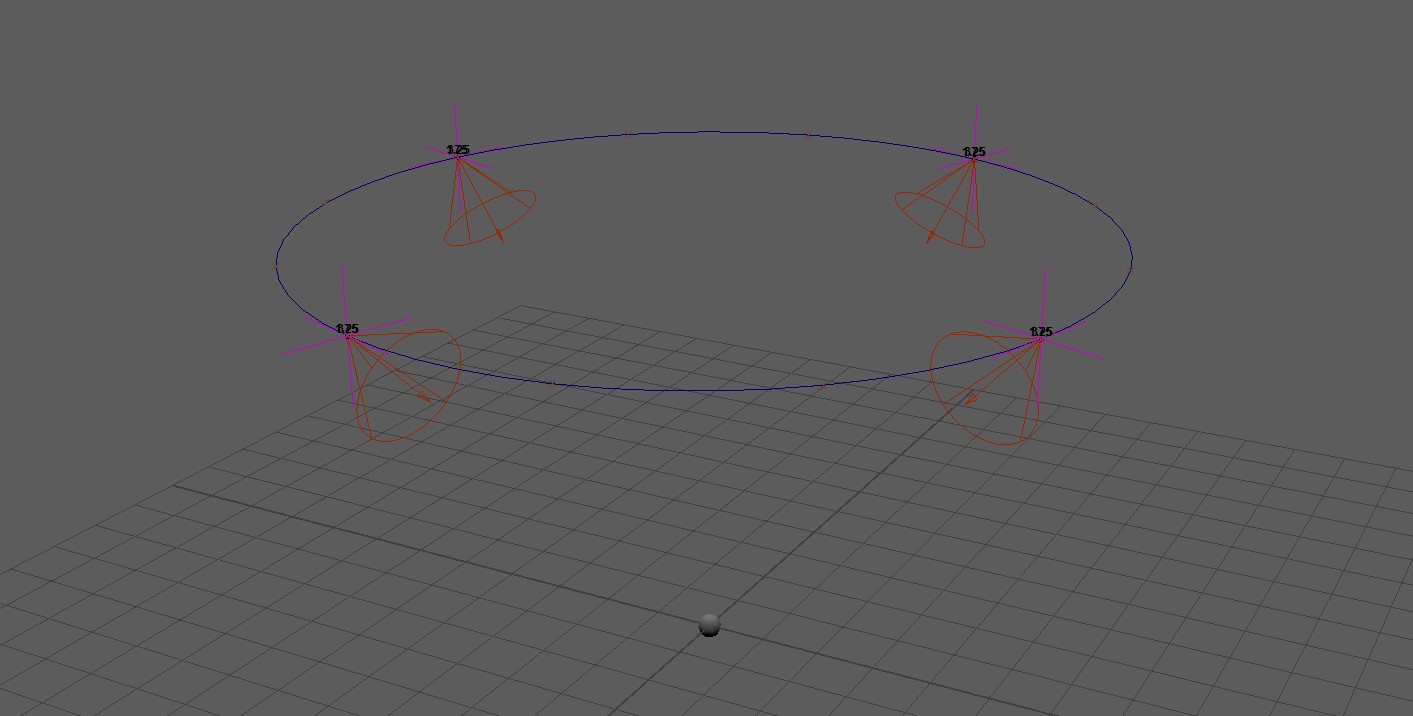
The first thing I did was create a NURBS circle, and I rebuilt it to have an even number of segments. Once it was rebuilt, I created 4 locators and 4 lights. The locators were attached to the circle by using a motion path. After they were on the path, I parented the lights with the locators so that they could be animated without having to move the actual lights. Finally, I used a point constraint that forces all of the lights to look in the same exact location at all times. The point constraint was attached to a sphere.
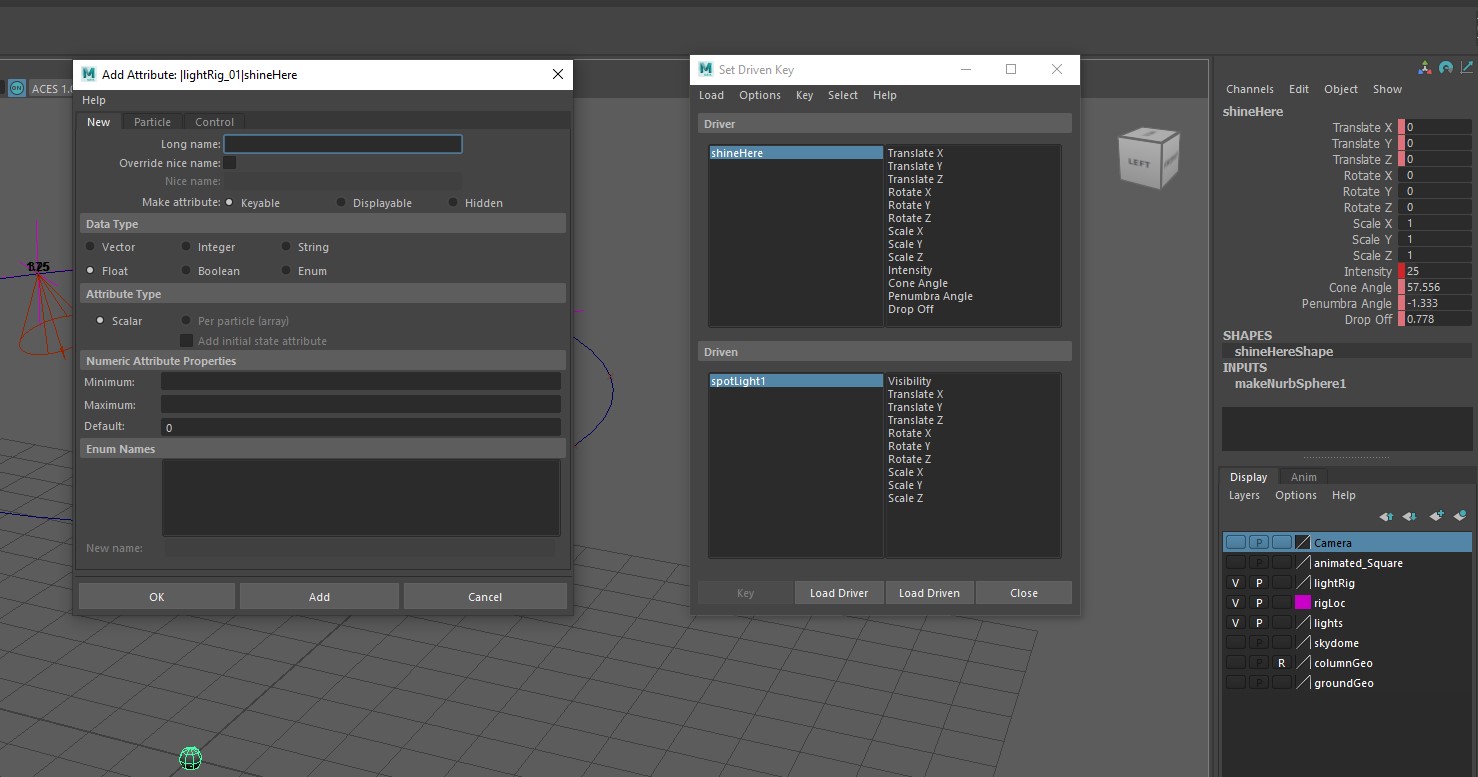
To control the light rig itself, I used the previously mentioned sphere as a control for the lights without having to change each light independently. I then created attributes for that sphere to include a few that are only accessible inside the lights themselves. Once the attributes were created, I used the set driven key menu to connect those attributes to the sphere and they could all be controlled at once. I turned off the visibility on the sphere so that it could not be seen in the final render.
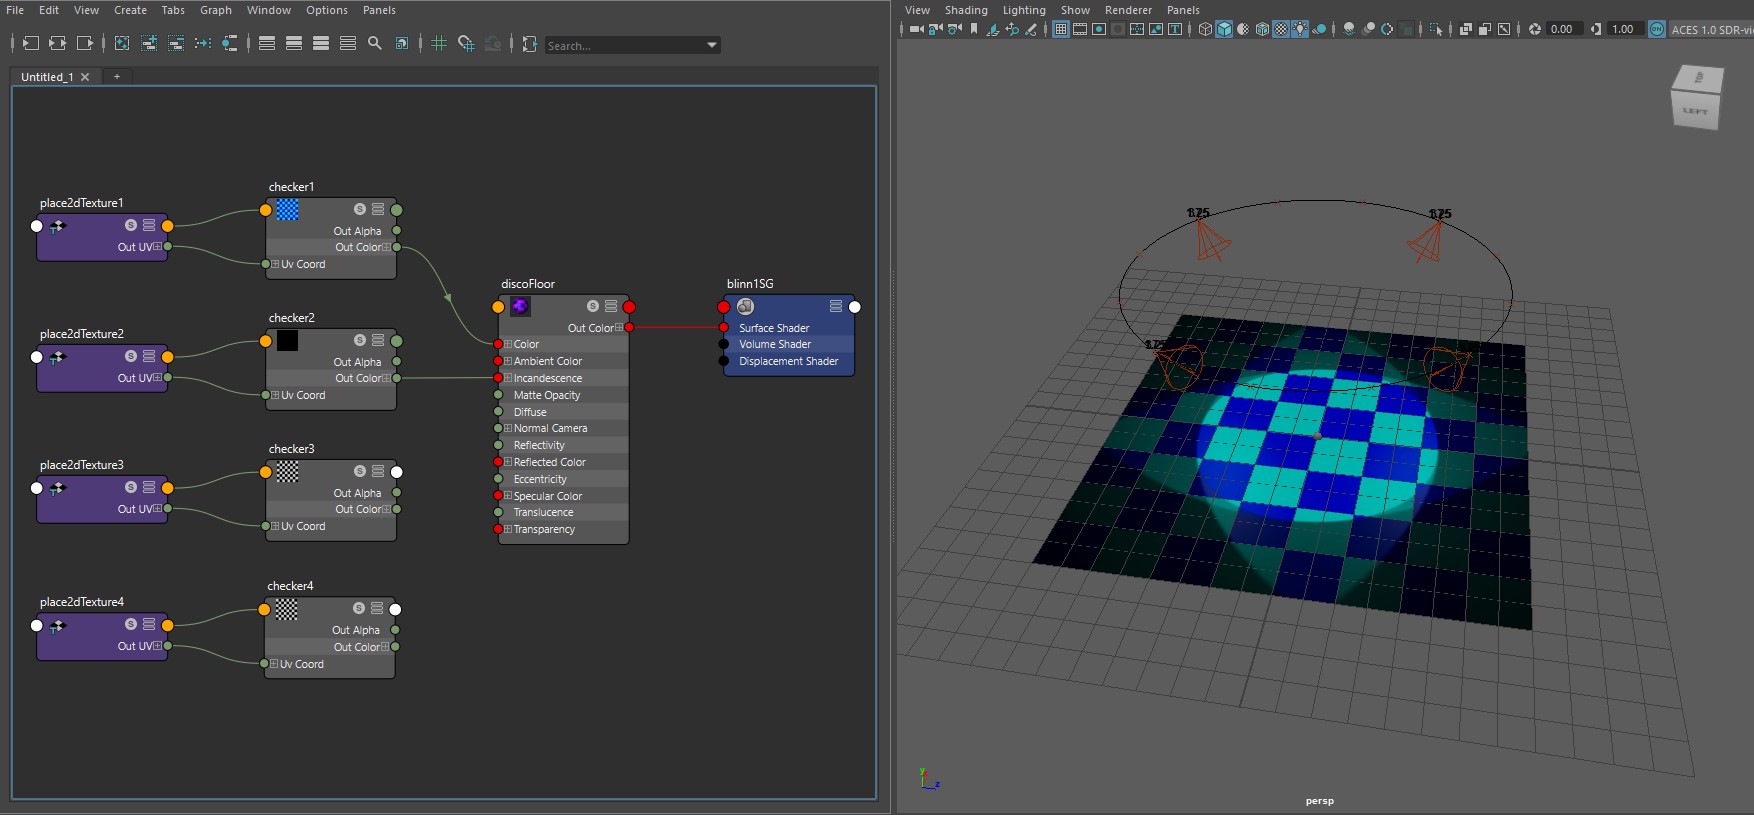
The floor is just a simple checkerboard shader that I animated by changing the two colors of the checkerboard.
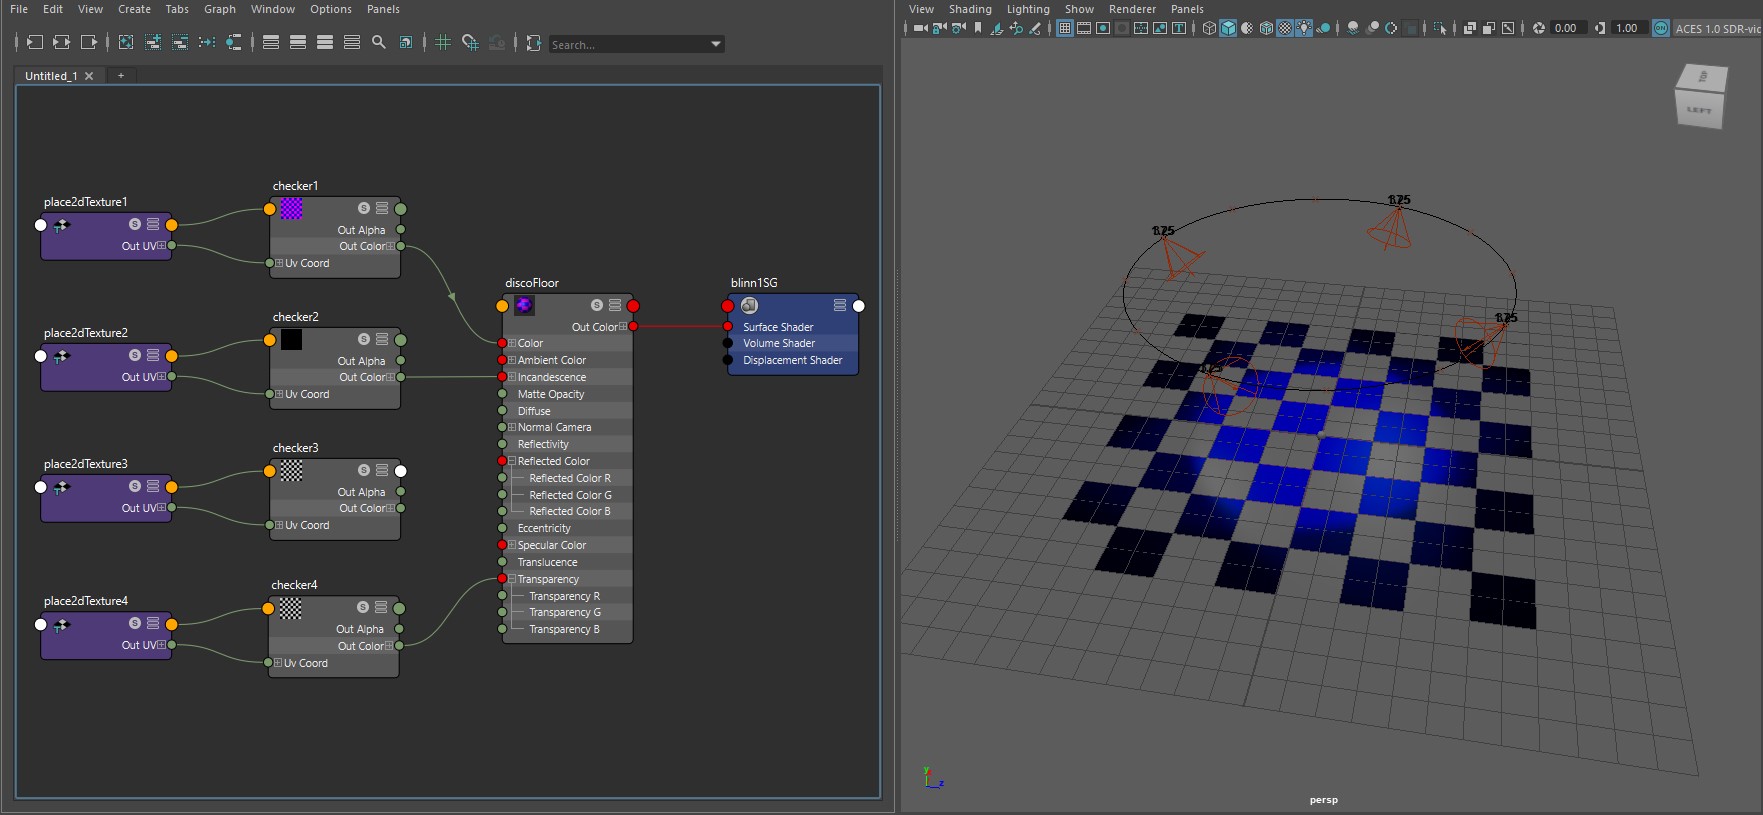
I was originally planning on animating the transparency as well, but I opted out of it and left the shaders in place to animate at a later time.
Here are a couple of renders from the final animation.
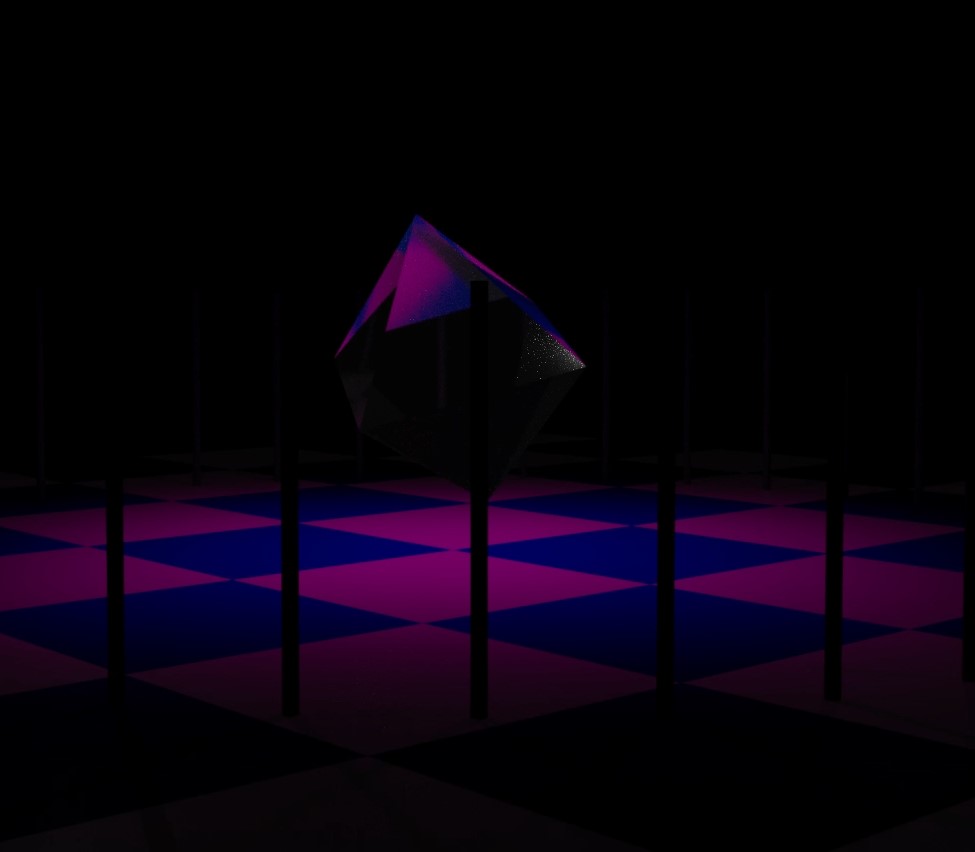
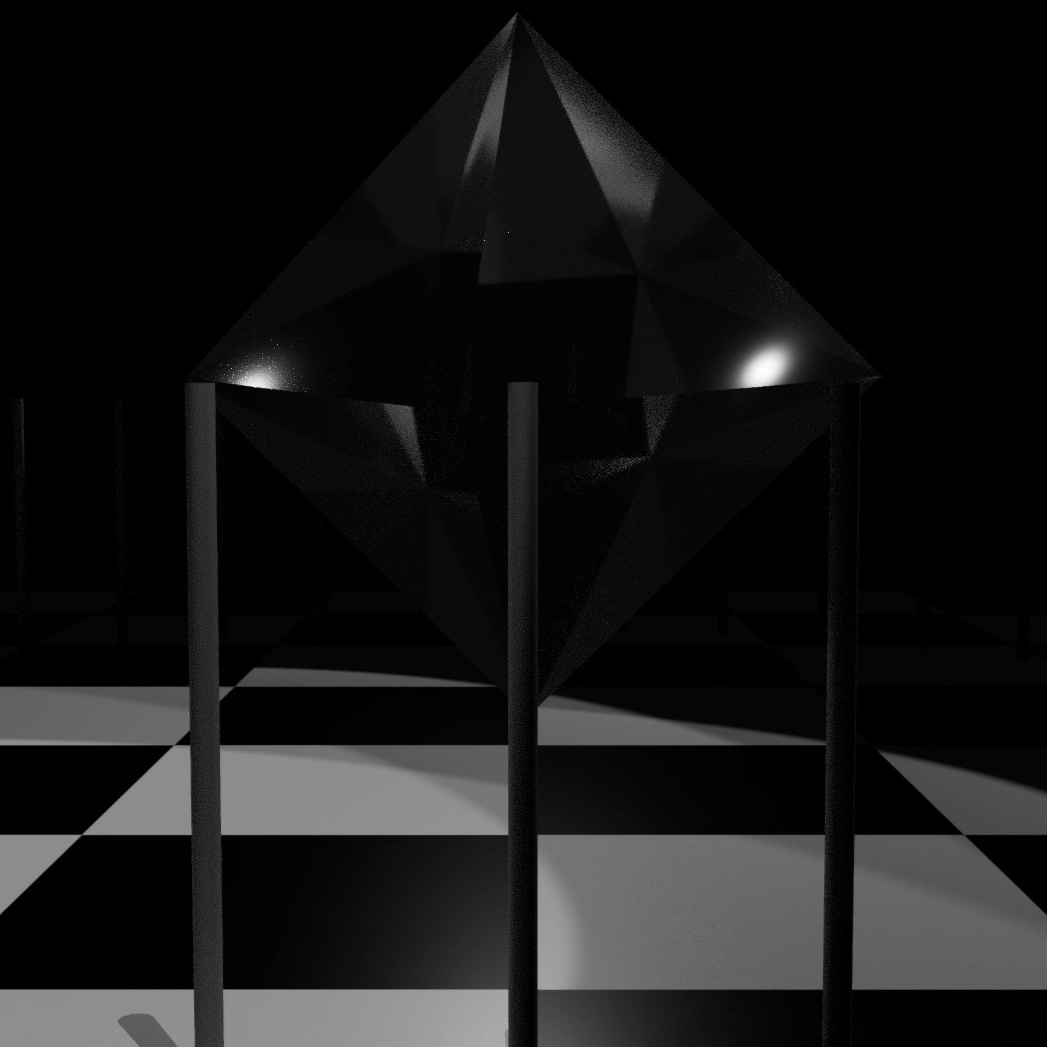
I used a random diamond shaped object and animated it spinning in place. The reason behind this was that I wanted the reflections from the lights and the floor to create a fun illusion. The columns that were set up all around were put in place to experiment with the shadows created by the lights.